65 - ChatOS - Add Firebase Auth
Livestream
Setup Firebase App
- Create new Firebase project https://console.firebase.google.com
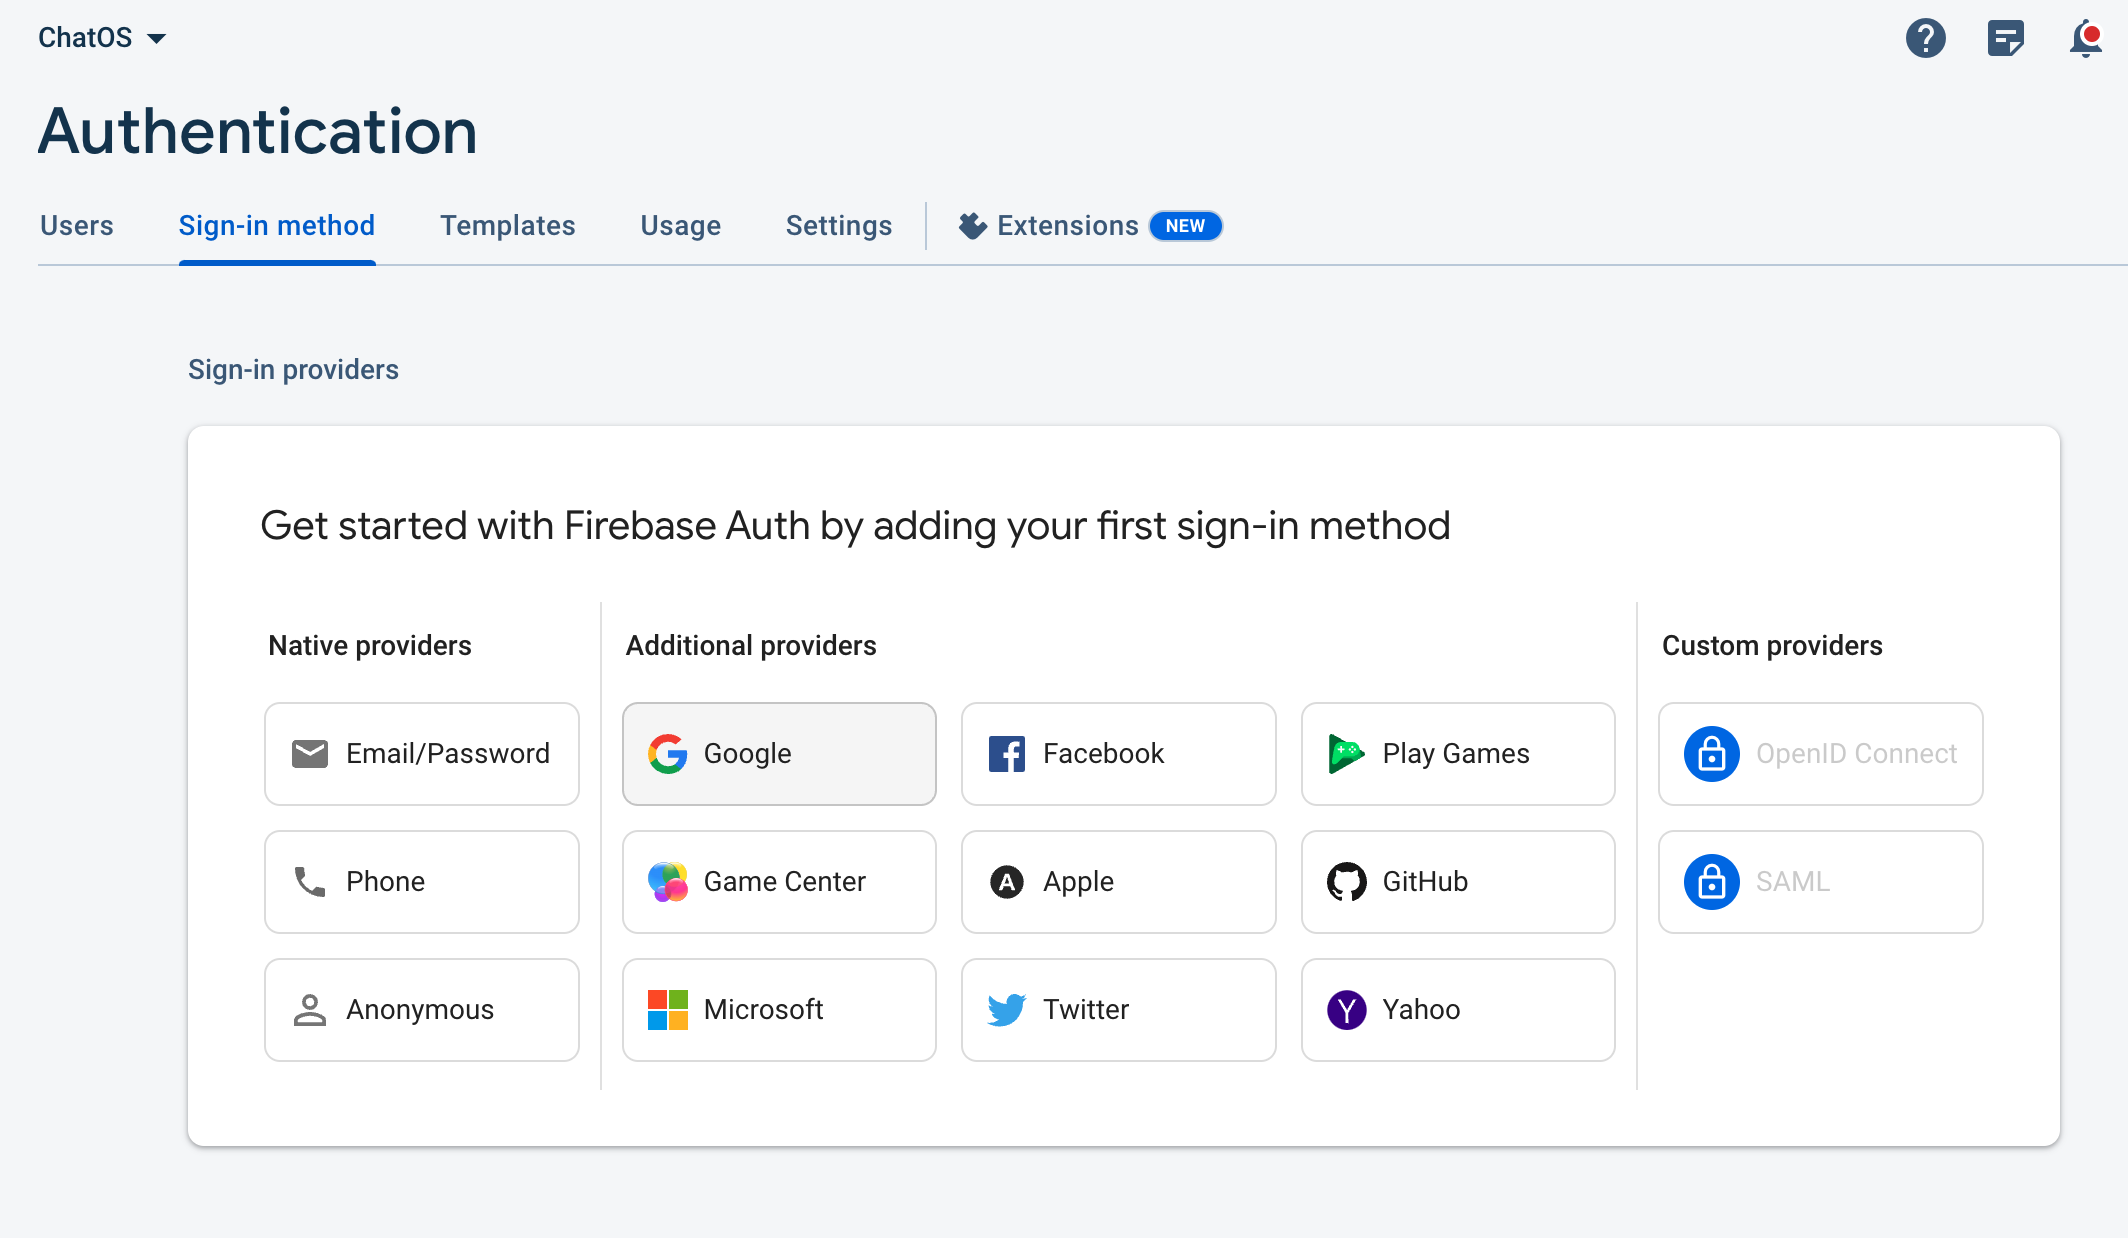
- Enable Google sign in method

- Register an app within the project, get the initialization code with configuration.
// Import the functions you need from the SDKs you need
import { initializeApp } from "firebase/app";
import { getAnalytics } from "firebase/analytics";
// TODO: Add SDKs for Firebase products that you want to use
// https://firebase.google.com/docs/web/setup#available-libraries

// Your web app's Firebase configuration
// For Firebase JS SDK v7.20.0 and later, measurementId is optional
const firebaseConfig = {
  apiKey: "...",
  authDomain: "chat-os-narze.firebaseapp.com",
  projectId: "chat-os-narze",
  storageBucket: "chat-os-narze.appspot.com",
  messagingSenderId: "...",
  appId: "...",
  measurementId: "G-..."
};

// Initialize Firebase
const app = initializeApp(firebaseConfig);
// const analytics = getAnalytics(app); // Don't use- Add Auth loader, and export
import { getAuth } from "firebase/auth";

...
const app = initializeApp(firebaseConfig);
export const auth = getAuth(app);- Import
authin a SvelteKit page to test
<script lang="ts">
  import { auth } from "$lib/firebase";
	import { GoogleAuthProvider, signInWithPopup, type User } from "firebase/auth";

  const provider = new GoogleAuthProvider();

  let user: User

  function signIn() {
    signInWithPopup(auth, provider)
      .then((result) => {
        // This gives you a Google Access Token. You can use it to access the Google API.
        const credential = GoogleAuthProvider.credentialFromResult(result);
        const token = credential!.accessToken;
        // The signed-in user info.
        user = result.user;
        // IdP data available using getAdditionalUserInfo(result)
        // ...
      }).catch((error) => {
        // Handle Errors here.
        const errorCode = error.code;
        const errorMessage = error.message;
        // The email of the user's account used.
        const email = error.customData.email;
        // The AuthCredential type that was used.
        const credential = GoogleAuthProvider.credentialFromError(error);
        // ...
      });
  }
</script>

{#if user}
  <p>Logged in as {user.displayName}</p>
{:else}
  <p>
    Not logged in
    <button class="btn btn-primary" on:click={signIn}>Sign in with Google</button>
  </p>
{/if}
You can also choose to sign in with redirection instead with signInWithRedirect. Refer to Firebase Documentation
- Load user in
+layout.tsby wrappingauth.onAuthStateChangedand use it inloadfunction
import { auth } from '../lib/firebase';
import type { LayoutLoad } from './$types';

async function getUserAuthState() {
	return new Promise((resolve, reject) => {
		const unsubscribe = auth.onAuthStateChanged((user) => {
			unsubscribe(); // Unsubscribe the listener once it's triggered
			resolve(user); // Resolve the promise with the user object
		}, reject);
	});
}

export const load: LayoutLoad = async (_event) => {
	const user = await getUserAuthState();

	return {
		user
	};
};- The user will be available through all pages as
data: PageDatausing the layout
<script lang="ts">
  import { auth } from "$lib/firebase";
  import { GoogleAuthProvider, signInWithPopup, type User } from "firebase/auth";
  import type { PageData } from './$types';

  const provider = new GoogleAuthProvider();

  export let data: PageData;
  let user: User | null = data.user as User
</script>

{#if user}
  <p>Logged in as {user.displayName}</p>
{:else}
  <p>
    Not logged in
  </p>
{/if}
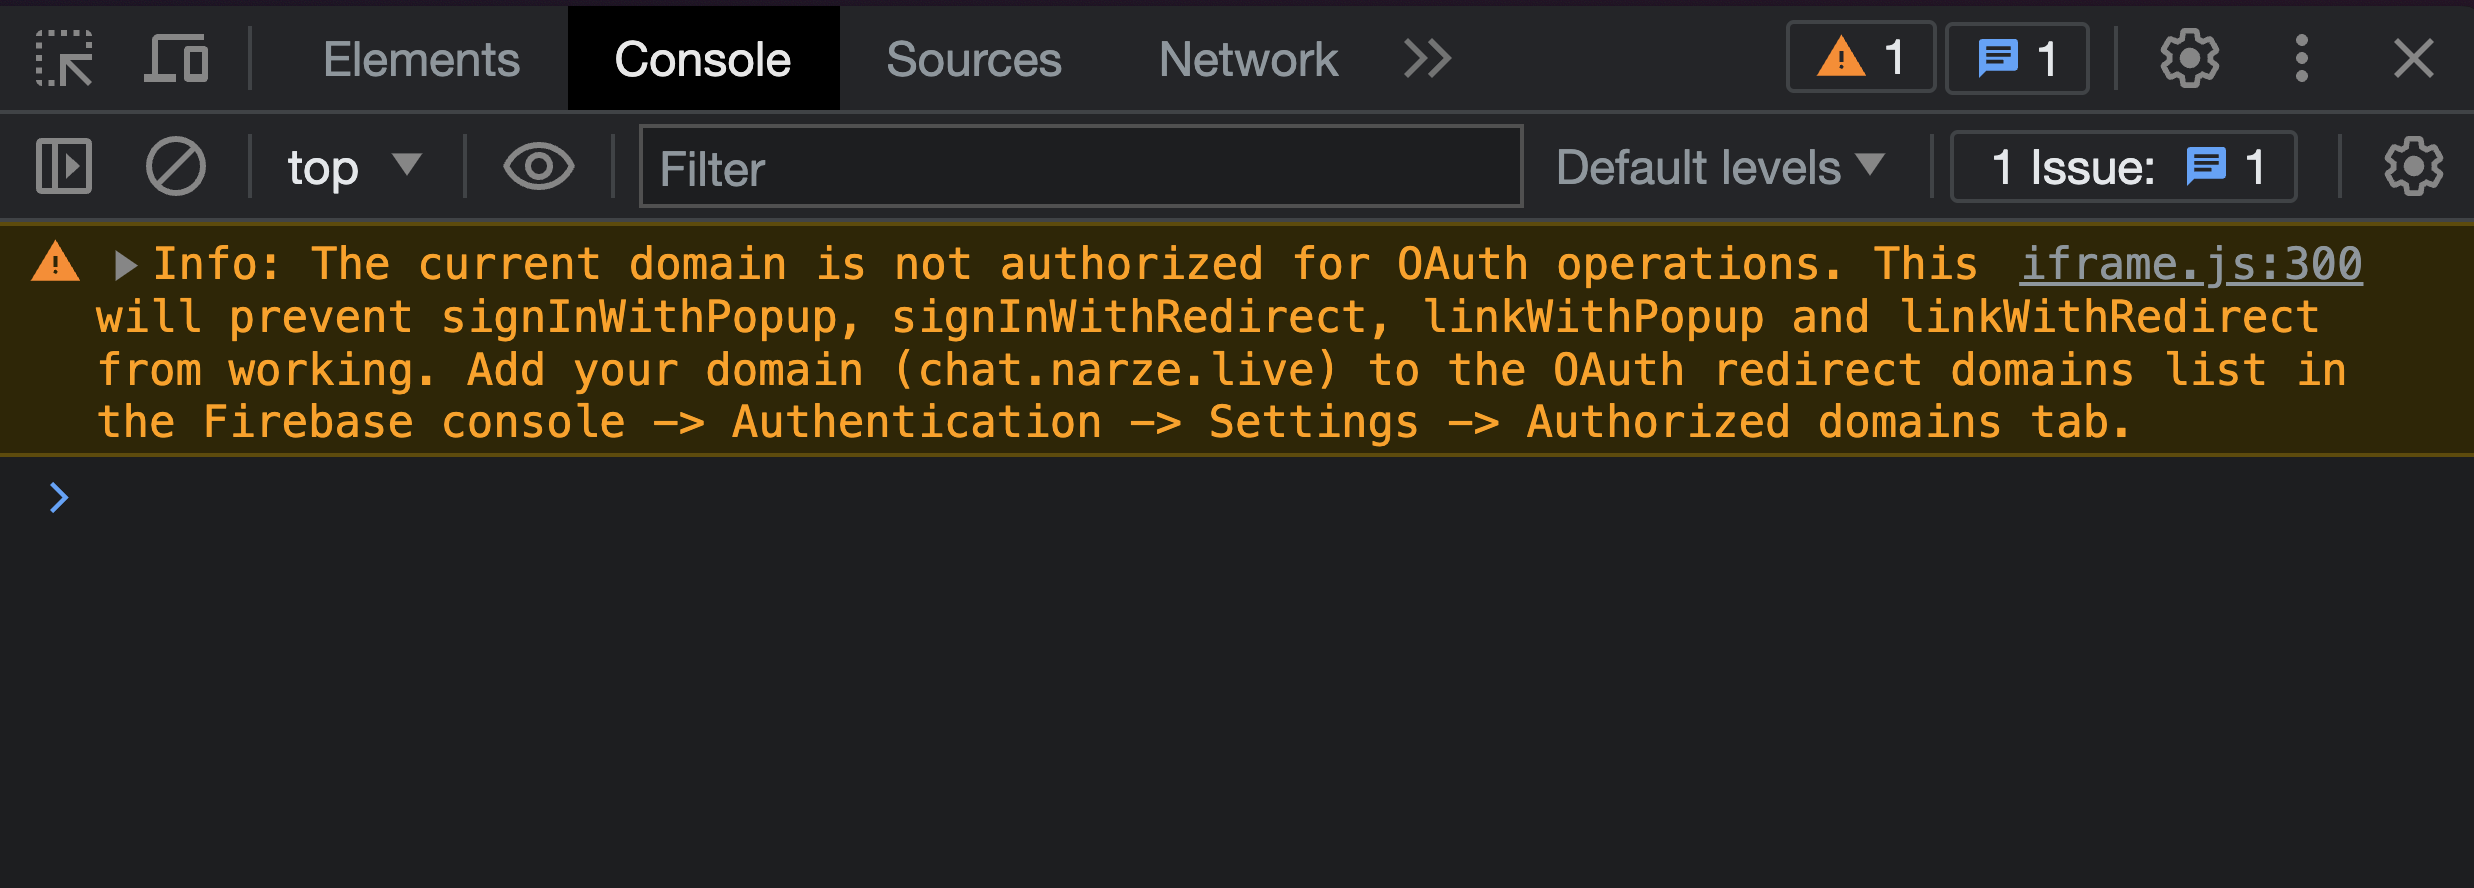
Note - If deployed, make sure to add the domain name in Firebase console
